How To Set Up Walking Pad for Immediate Use
Learn how to set up walking pad quickly with this guide. Follow 5 simple steps for safe and effective operation of your new walking pad.
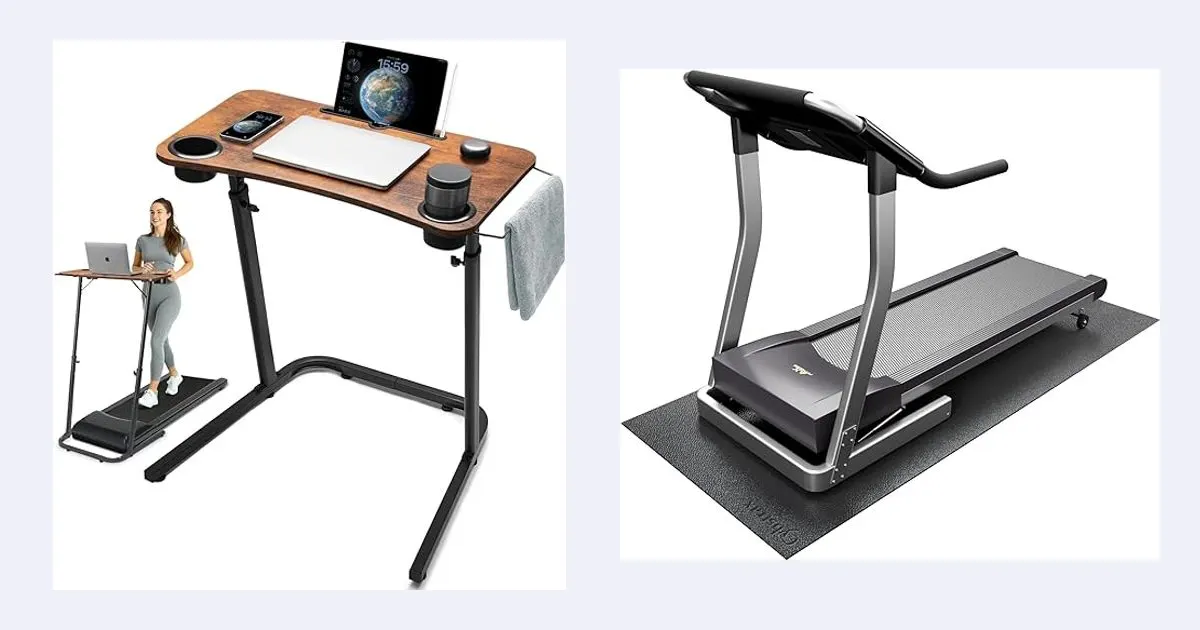
Intro
This guide explains how to set up a walking pad for immediate use. Proper setup ensures safety and extends the equipment’s lifespan.
Quick Overview
| Aspect | Detail |
|---|---|
| Time Required | 10 minutes |
| Difficulty | Easy |
| Tools Needed | None (often) |
| Cost | Free |
What You’ll Need
- Walking pad
- Power outlet
- Clear, flat surface (at least 2 feet wider than the walking pad)
- User manual
Step 1: Unpack the Walking Pad
Remove the walking pad from its packaging. Carefully cut any straps or ties securing the unit, then lift it out. Inspect for any visible damage from shipping.
Step 2: Position the Walking Pad
Place the walking pad on a flat, stable surface. Ensure at least 20 inches of clear space behind the unit and 10 inches on each side for safety. Avoid placing it on thick carpet, which can hinder motor ventilation.
Step 3: Connect to Power
Plug the power cord into the walking pad’s designated port, usually located at the front or rear. Insert the other end of the power cord into a grounded 120V electrical outlet. Do not use extension cords, as they can cause power fluctuations.
Step 4: Attach Safety Key (If Applicable)
Many walking pads include a safety key with a clip. Attach the magnetic end of the safety key to its designated spot on the console. Clip the other end to your clothing; this stops the belt if you fall.
Step 5: Power On and Test
Press the power button, typically on the console or remote control. The display should illuminate. Start the belt at a slow speed, like 0.5 MPH, to confirm proper function. Refer to your How To Use Walking Pad guide for operation details.
Tips and Best Practices
- Read the user manual thoroughly before initial use.
- Keep the area around the walking pad clear of obstructions.
- Check for loose parts or unusual noises before each workout.
- Store the walking pad in a dry, temperate environment when not in use.
- Regularly clean the walking pad’s deck and belt to prevent dust buildup.
Common Mistakes
- Placing the walking pad on an uneven surface, causing instability.
- Ignoring the safety key, which removes a crucial safety feature.
- Plugging into an ungrounded or overloaded electrical outlet.
- Starting at a high speed without first testing the belt.
- Not checking for proper belt alignment after setup.
FAQ
Q: How do I know if the walking pad is properly aligned? The walking belt should track centrally without rubbing against the side rails. If it drifts, consult your manual for belt adjustment instructions.
Q: Can I use my walking pad on carpet? It is generally not recommended to use a walking pad directly on thick carpet. Carpet fibers can interfere with ventilation and potentially cause motor overheating.
Q: What if my walking pad does not power on after setup? First, check that the power cord is securely plugged into both the unit and the wall outlet. Ensure the safety key is correctly inserted; many units will not power on without it.
Q: How often should I maintain my walking pad? Most manufacturers recommend lubricating the walking belt every 3-6 months, depending on usage. Refer to your specific model’s manual for detailed maintenance schedules.
- treadmill