Guide: How to Set Up a Wall Mounted Pull Up Bar Safely
Learn how to set up a wall mounted pull up bar with this step-by-step guide. Securely install your bar for effective home workouts in under 60 minutes.
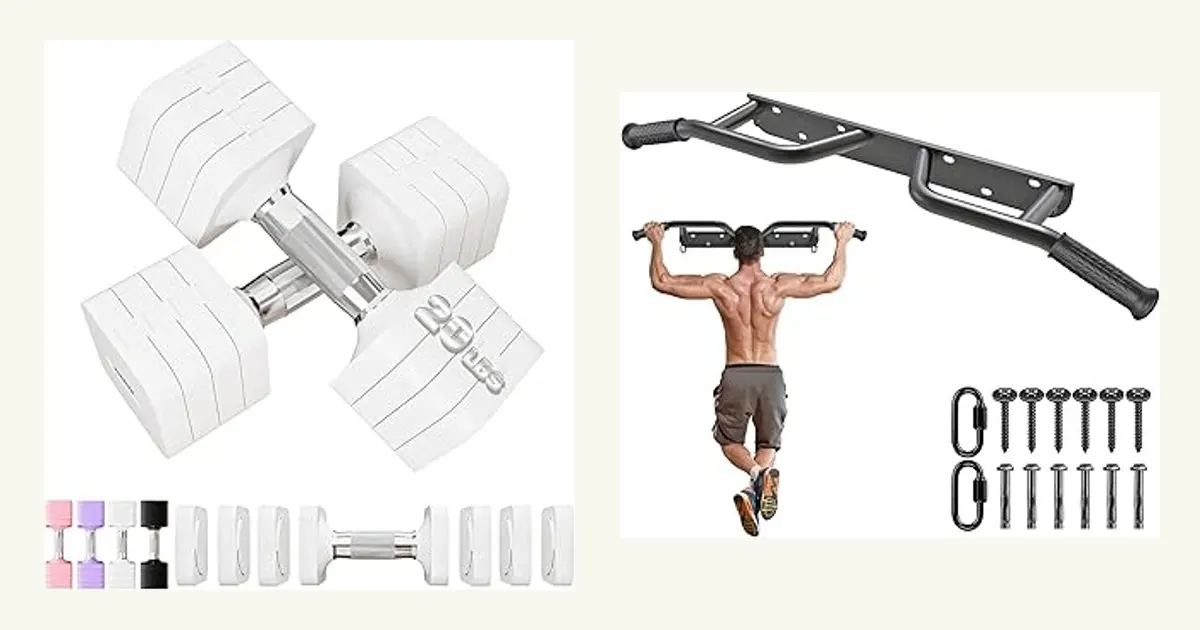
Intro
This guide details how to set up a wall mounted pull up bar safely and effectively. Proper installation ensures stability for your exercise routine.
Quick Overview
| Aspect | Detail |
|---|---|
| Time Required | 45-60 minutes |
| Difficulty | Moderate |
| Tools Needed | Stud finder, drill, wrench, level |
| Cost | Free (if tools owned) / ~$50 (for basic tools) |
What You’ll Need
- Wall mounted pull up bar kit (includes bar, brackets, hardware)
- Stud finder
- Pencil
- Measuring tape
- Level
- Power drill with appropriate drill bits (wood/masonry, depending on wall type)
- Socket wrench or adjustable wrench
- Safety glasses
Step 1: Locate Wall Studs
Use a stud finder to identify at least two vertical wooden studs in your wall. Mark the center of each stud with a pencil at your desired pull-up bar height. The standard height for a pull-up bar is typically 7.5 to 8 feet from the floor, allowing full arm extension.
Step 2: Mark Mounting Holes
Hold one pull-up bar bracket against the wall, aligning its center with a marked stud. Use a level to ensure the bracket is perfectly vertical. Mark the exact locations for the mounting holes through the bracket with your pencil. Repeat this process for the second bracket, ensuring it is level horizontally with the first bracket and centered on another stud.
Step 3: Drill Pilot Holes
Select a drill bit slightly smaller than the diameter of your pull-up bar’s lag screws. Carefully drill pilot holes at each marked location. Drill deep enough to penetrate the stud by at least 2 inches, but avoid drilling completely through the wall.
Step 4: Attach Mounting Brackets
Position the first bracket over its pilot holes. Insert the lag screws through the bracket and into the pilot holes. Use your socket wrench to tighten the screws firmly, securing the bracket to the wall. Repeat this for the second bracket. Ensure both brackets are securely fastened and do not wobble.
Step 5: Install the Pull Up Bar
Align the pull-up bar with the holes on the mounted brackets. Insert the connecting bolts through the bar and brackets. Tighten these bolts with your wrench until the bar is stable and secure. Test the bar’s stability by applying light pressure before full use. For more details on using the bar, see How To Use Wall Mounted Pull Up Bar.
Tips and Best Practices
- Always mount into solid wood studs for maximum safety and weight capacity.
- Verify all screws and bolts are tightened completely before each use.
- Consider your ceiling height and personal height for optimal bar placement.
- Use a friend for assistance to hold brackets during marking and initial attachment.
- Check the manufacturer’s weight limit for your specific pull-up bar model.
Common Mistakes
- Mounting into drywall only, which cannot support body weight.
- Not using a level, resulting in a crooked and unstable bar.
- Using incorrect drill bit sizes, leading to loose screws or damaged studs.
- Failing to tighten all hardware, risking detachment during exercise.
FAQ
Q: How high should I mount my pull up bar? Mount your pull up bar so you can fully extend your arms without touching the floor, typically 7.5 to 8 feet high. This allows for a full range of motion during exercises.
Q: Can I install a wall mounted pull up bar on a concrete wall? Yes, you can install a wall mounted pull up bar on a concrete wall. You will need a hammer drill, masonry drill bits, and appropriate concrete anchors.
Q: What tools are essential for this setup? A stud finder, power drill, level, and a wrench are essential tools for a secure wall mounted pull up bar installation. These tools ensure proper alignment and attachment to wall studs.
- pull-up-bar
- pull